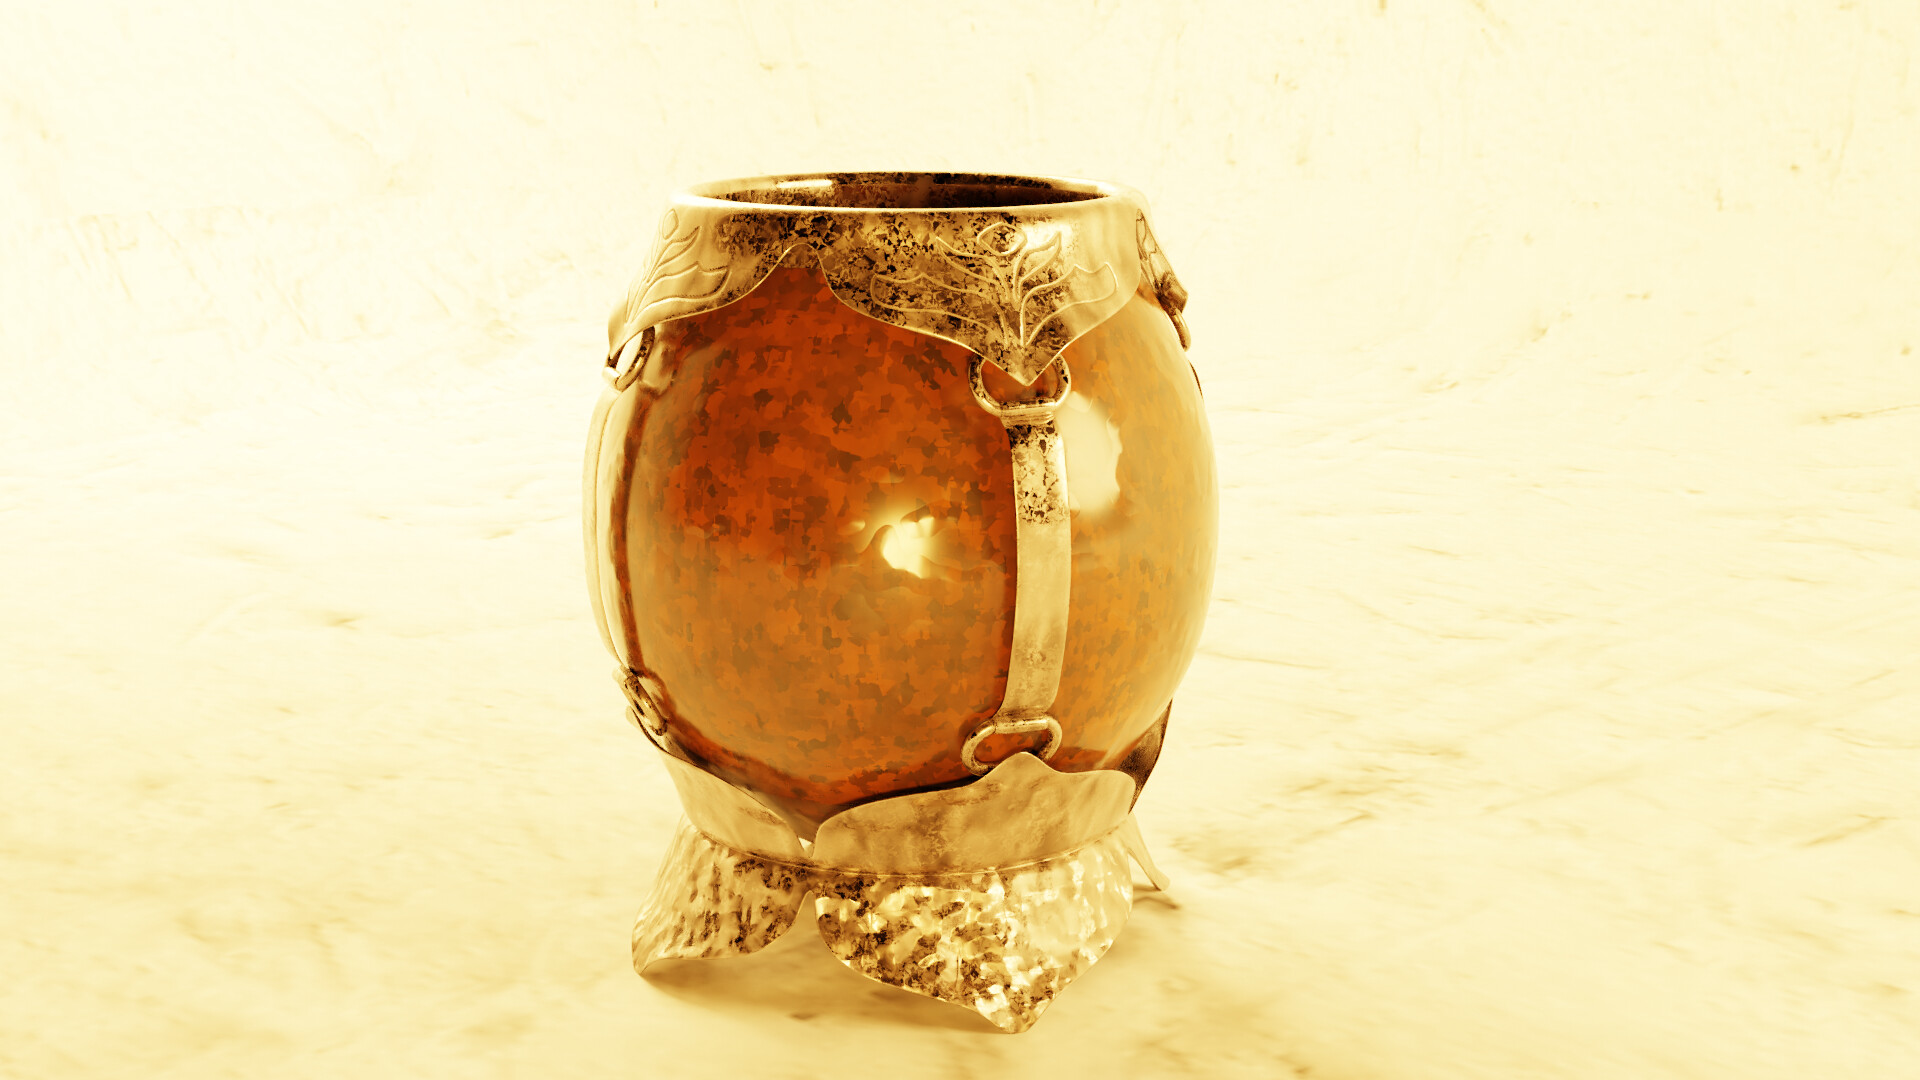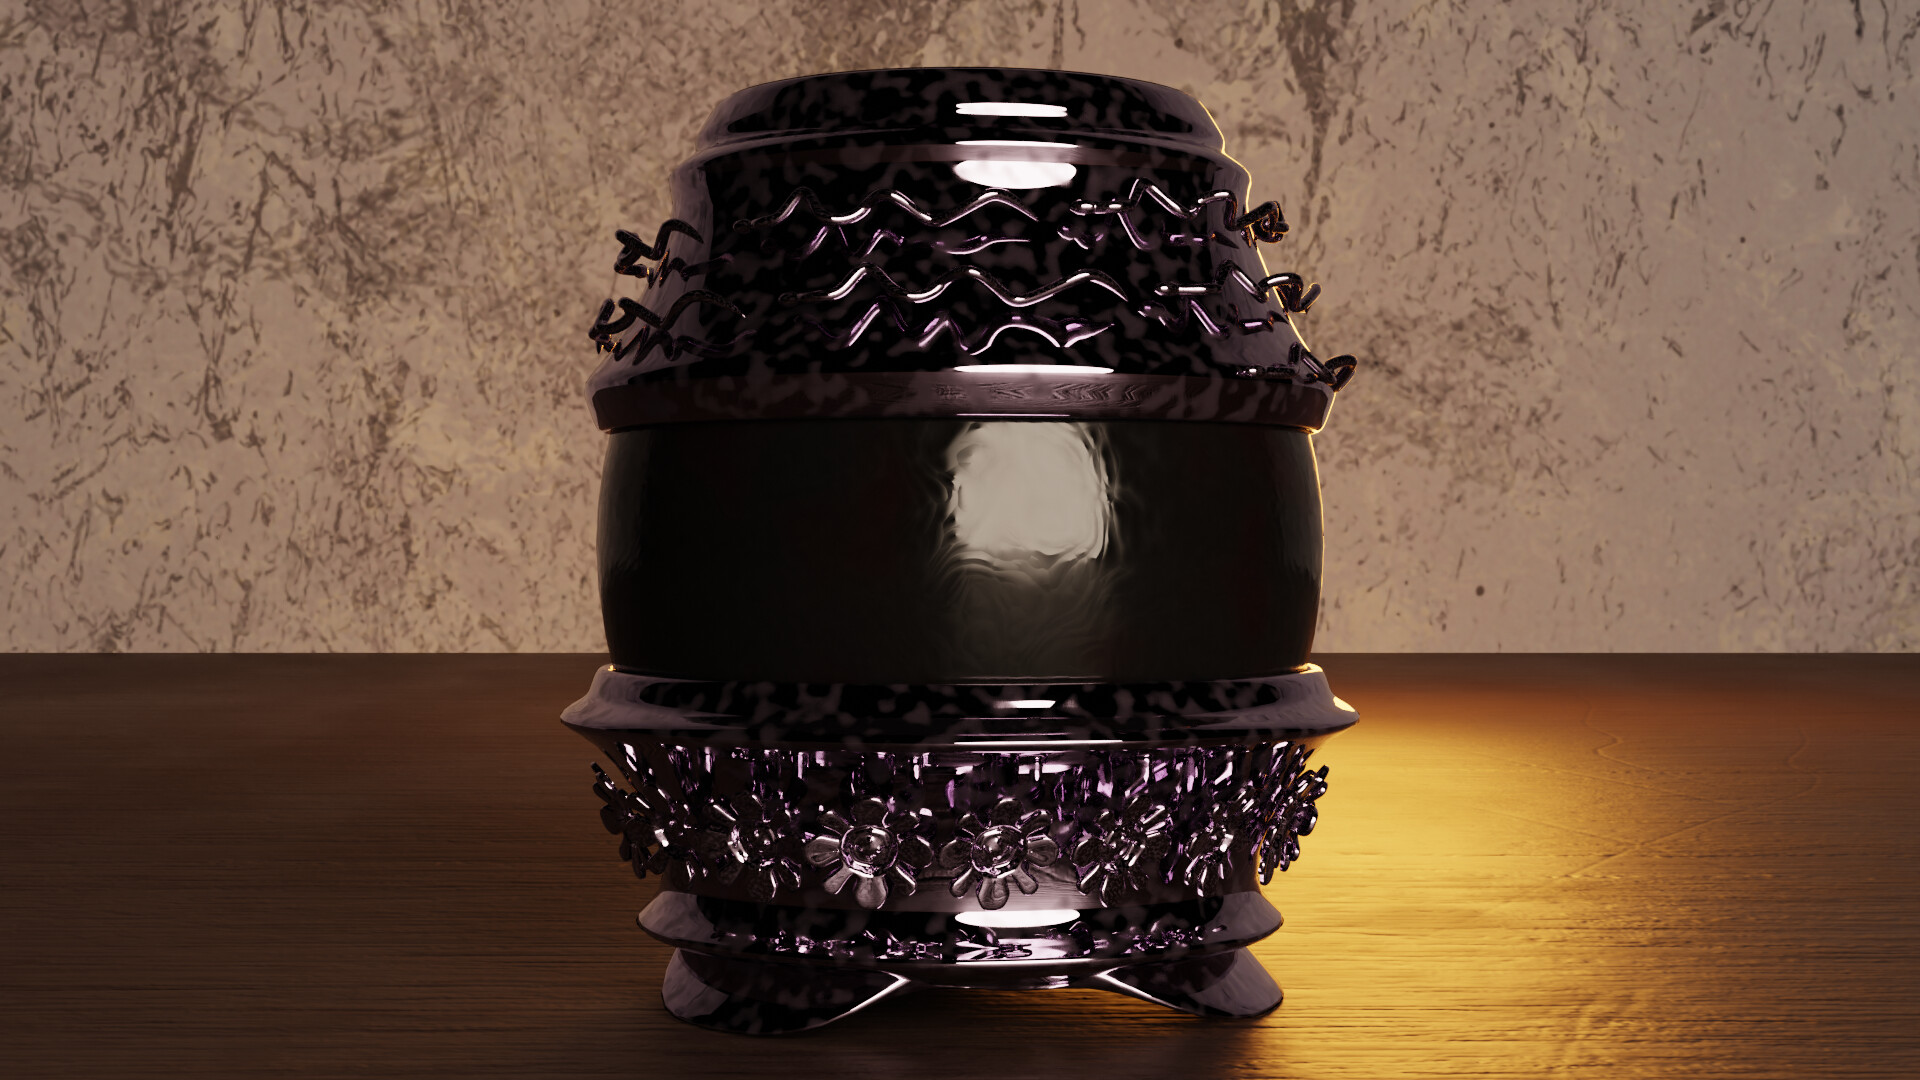
One very important thing to learn as an artist is how to finish your projects.
Sadly, I can only make this a new year resolution for 2021. At present I have multiple projects in different stages of completion, some of them merely ideas with reference photos, some partially finished, some finished but require a story to be told, and finally, there are finished projects that I return to and improve afterwards.
Because of this, the Learning 3D Art series which I originally intended to post once a month listing all that I learned and all projects that I finished that month will be replaced by occasional posts with stories of my art or collections of 3D art learning resources. Also, works in progress will continue to appear on Instagram and works consireded at least provisionally finalised will be posted to my new ArtStation page.

In September I finished several projects, but their stories are still to be told. Among other things, I am drinking a lot of yerba mate and naturally became enthralled with different kinds of mate. Those are also very convenient for honing basic skills and learning procedural textures.
As for the former, there is a great video by Daniel Krafft named 100 Blender 2.8 tips you might not know! which contains the essence of dozens of tutorials you might have watched previously (like I have) in a concise form, great for reviewing Blender tricks and learning some more. Just like The Matrix, the video has Part 2 and Part 3 which lack some of the elegance of Part 1 but are nevertheless quite informative.
Using textures in Blender
It seems that PBR textures (which means textures for physically based rendering) became a standard only a few years ago, at least in the Blender community, and became widely spoken of only after Principled BSDF shader was introduced in 2.79.
It also seems that originally photography was the main method of obtaining the textures, but then everyone switched to using Substance Designer instead. And because of the simplicity, a lot of procedural textures can be obtained for free from popular web sites:
There is also a search engine 3DAssets.one that can be used to find textures from several of the above web sites, and LilySurfaceScraper Blender plugin that can do this automatically after you give it the link to the texture page.
However after making a couple of projects with those textures I realised that I either have either to redownload them again and again, which is tedious, or keep a collection of them locally and search for a desired texture every time, which is again, tedious.
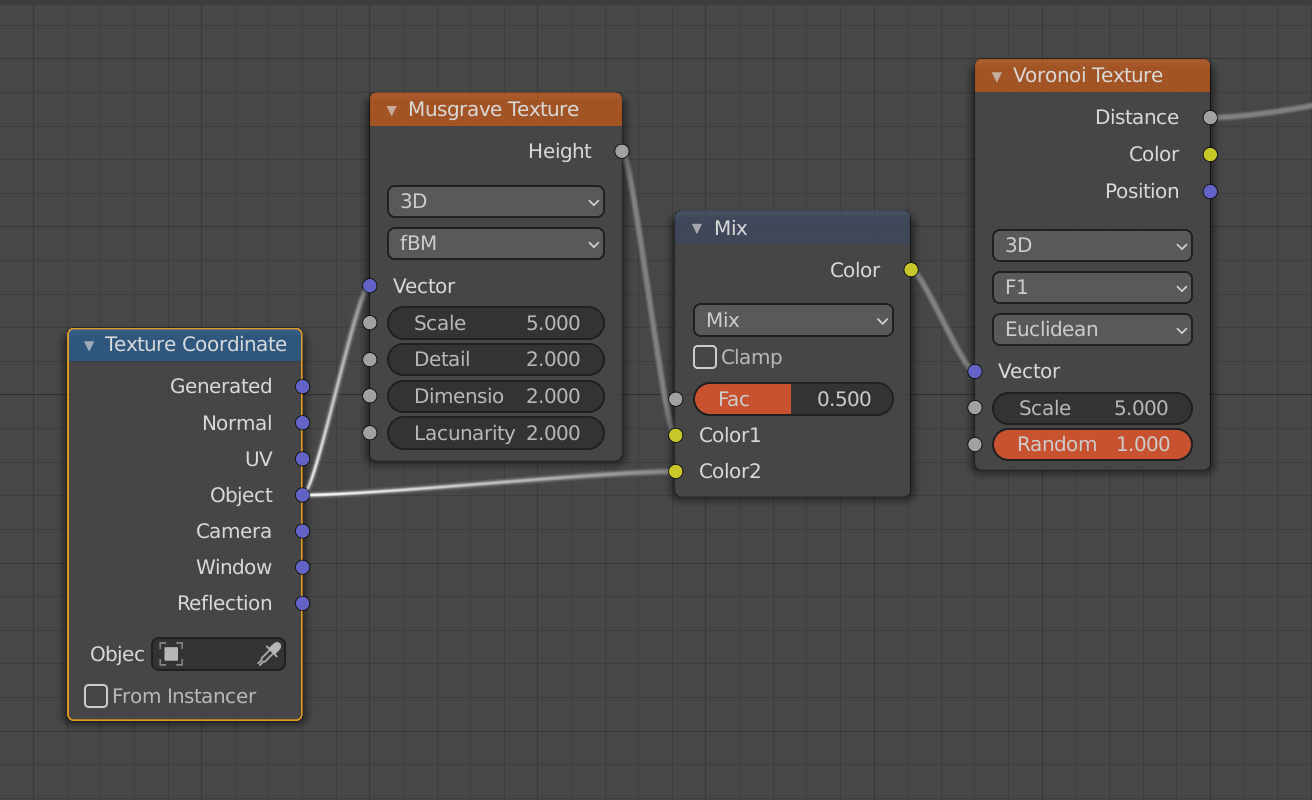
And then I turned my attention to making procedural textures in Blender. This way you can always tweak the texture to your liking and then bake it if you want to speed up the render. There is a lot of tutorial videos on different kinds of procedural textures in Blender, but the most useful were a bunch of videos from Nathan Duck where he uses a nice way to combine two textures in a controllable fashion.

Any two textures can be combined by plugging one into a vector input of another, and in the setup shown above a MixRGB node is used to control how strong the influence of the first texture on the second is. This allows for a wide choice of possible results which can then be plugged into a Color Ramp or a Math node and a lot of textures can be created this way, especially surface imperfections.